


How to Remove Old Cello Tape Stains from any Surface? |
Posted: February 26, 2021 |
 Cello tape is an accessory omnipresent in every home due to its countless uses. To repair broken items, to stick posters and pictures on walls, or simply stick things together. But as opposed to glue, the adhesive of the cello tape is more robust and stays on for longers due to the plastic layer covering it. Things you’ll need to remove cello tape stains:
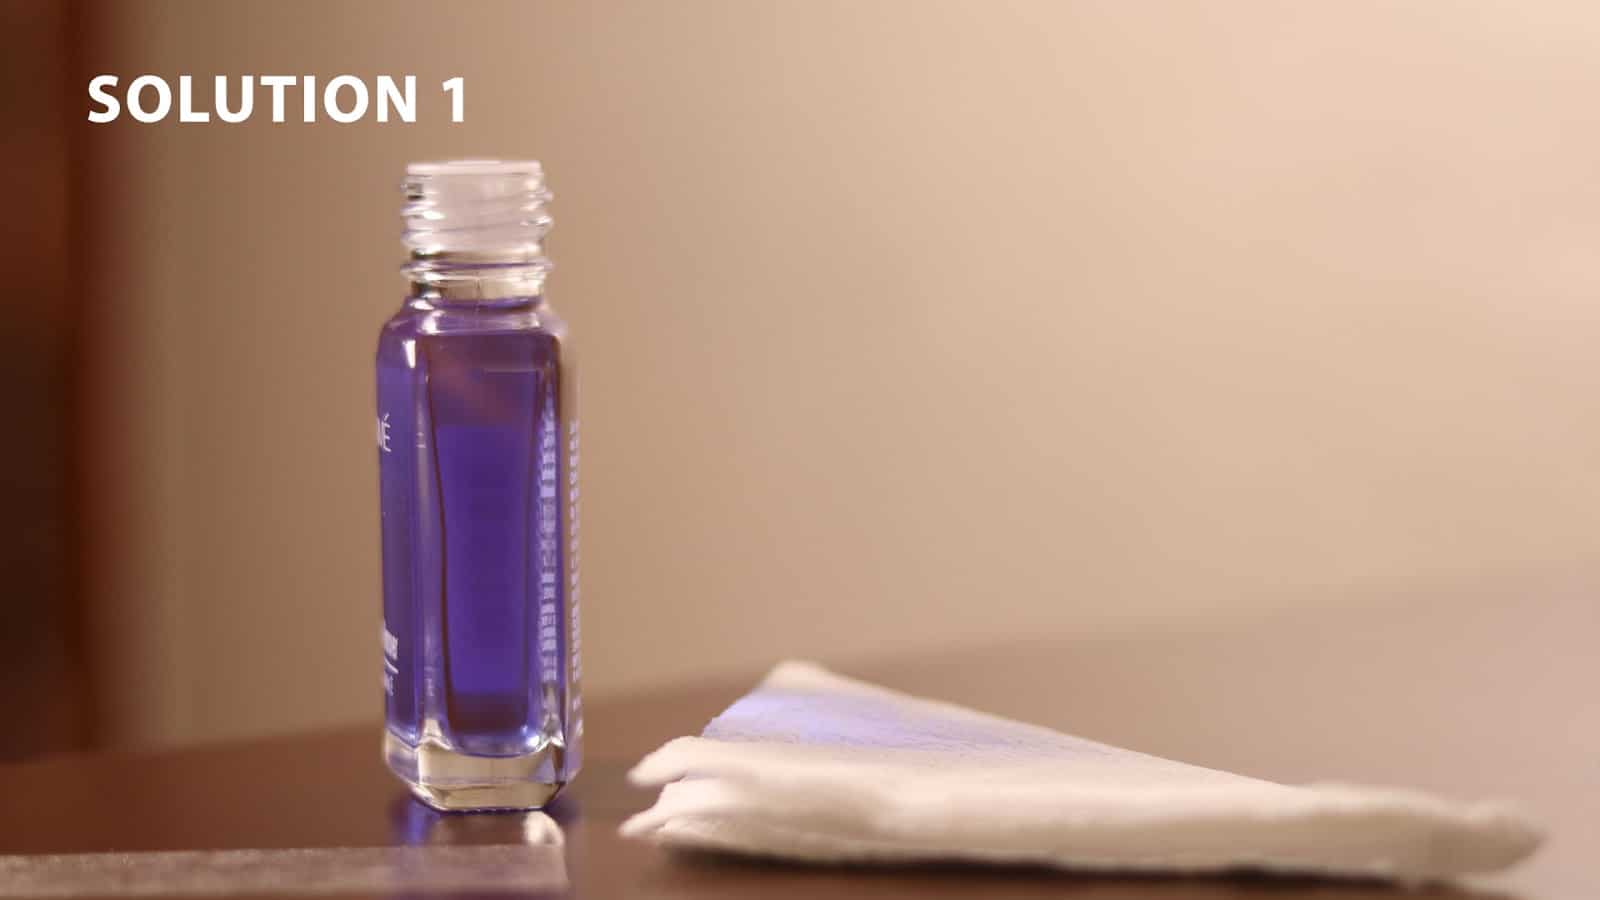
Solution 1
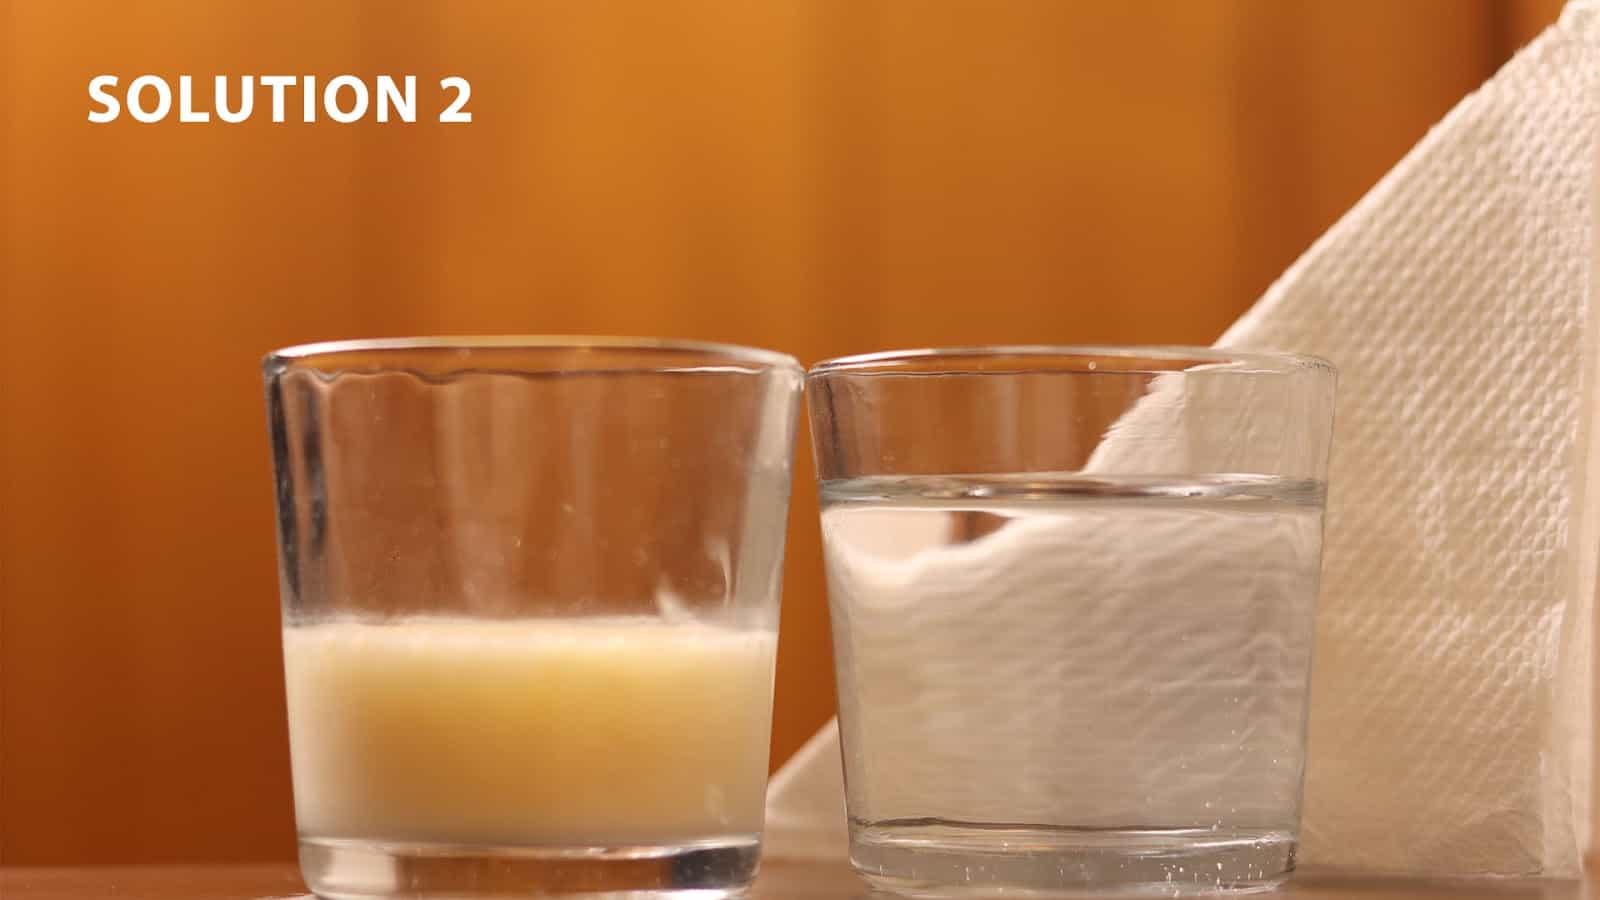
This solution is ideal for surfaces with no polish or paint. Get some nail paint remover or rubbing alcohol, dip some tissue in it. Rub this tissue on the cello tape stain and started rubbing the stain away. Now get a scrubber and try to disperse the solid dirt or adhesive. Wipe clean with a dry tissue. If you have any clear polish, apply over the cleaned stain to restore its old look. Solution 2
For unpolished surfaces, this solution would work well. Take some warm water, mix some dishwashing liquid in it. Foam it up, now soak a tissue in it, and start scrubbing it to remove the cello tape stain. The dirt should come off. Now take a tissue, dip it in vinegar as it dissolves the adhesive. Wipe away any residue or adhesive with a cloth. Solution 3
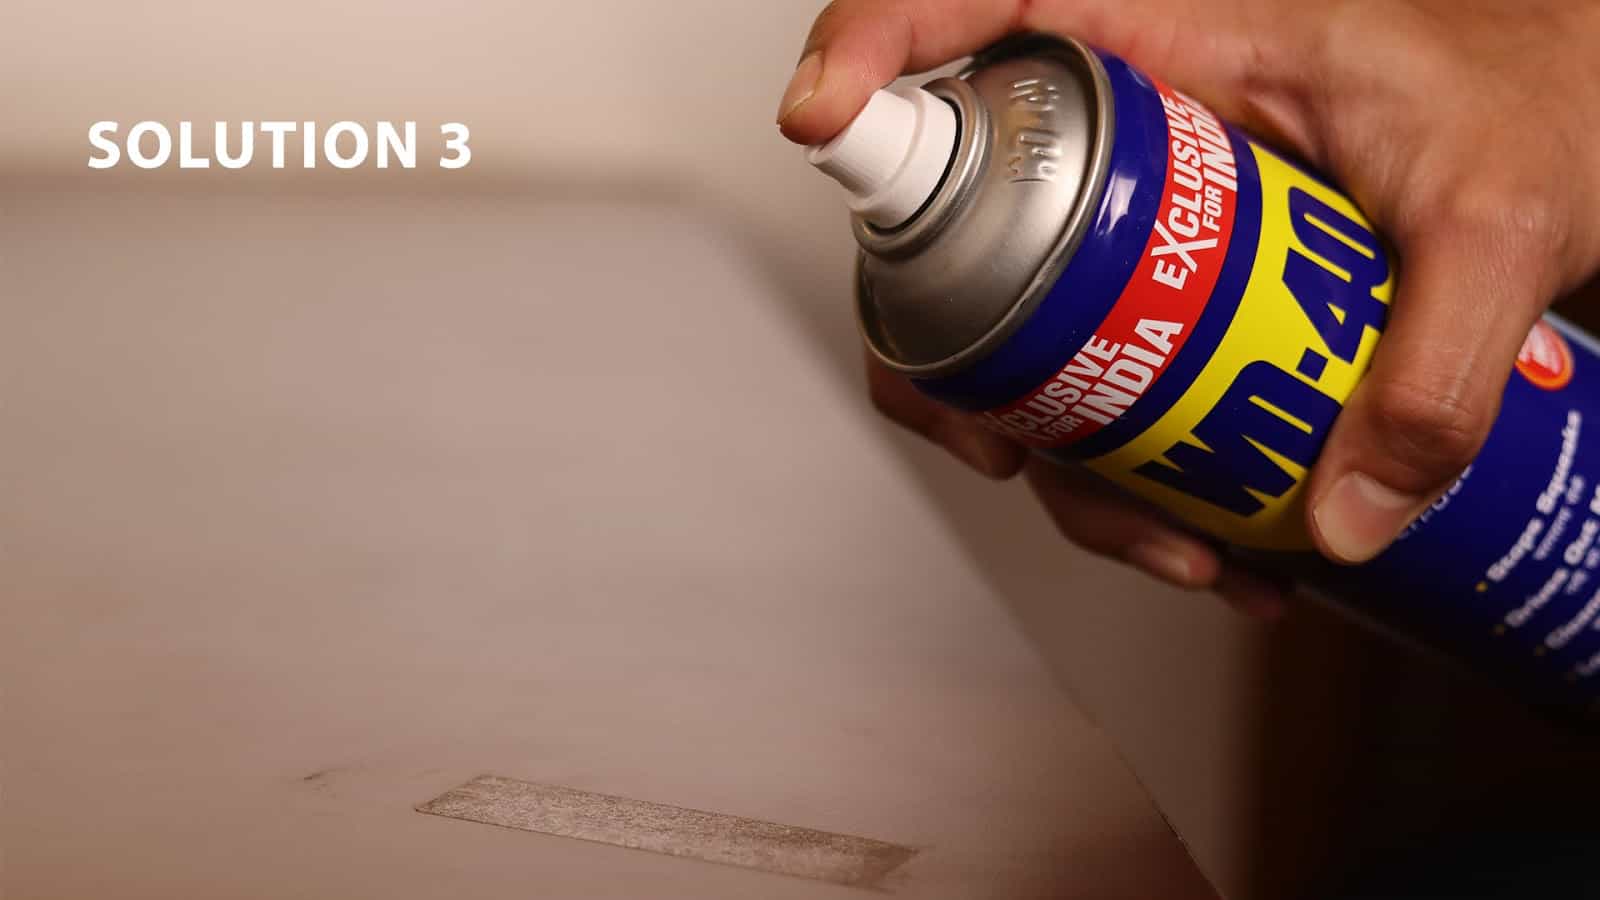
Now the solutions above may not be 100% effective. Some residual dirt or adhesive might be left behind, even after all the elbow grease put in by you. Worry not; there’s one foolproof solution with minimal ingredients. Simply spray some WD-40 onto the stain, wait for a minute. Now wipe clean with a tissue; all the dirt and glue will come right off. Pro tip: Avoid leaving cello tape on surfaces for too long as it gathers dirt along the edges.
|
||||||||||||||||||||||||||||||||||||||
|
||||||||||||||||||||||||||||||||||||||